
INGREDIENTS
For the pudding base
• 3 cups whole milk
(You may use low-fat or plant milk, but whole milk gives the best texture)
• 3 large egg yolks
(Save the whites for another recipe)
• 3 tablespoons cornstarch
• 1 tablespoon all-purpose flour
• 1 teaspoon pure vanilla extract
• 1/4 teaspoon salt
For the banana layers
• 4 to 5 very ripe bananas
(Yellow with brown spots is ideal)
Optional texture additions (still no sugar)
Choose one or none:
• Plain unsweetened whipped cream
• Plain unsweetened Greek yogurt
• Crushed unsweetened vanilla-free biscuits
• Soft oat biscuits with no added sugar
These are optional and not required.
EQUIPMENT YOU WILL NEED
• Medium saucepan
• Mixing bowl
• Whisk
• Rubber spatula or spoon
• Measuring cups and spoons
• Serving dish or individual cups
STEP 1: PREPARE THE BANANAS
Peel all bananas.
Slice them into even rounds, about half a centimeter thick.
Set aside two bananas for layering.
Place the remaining bananas into a bowl.
Mash them thoroughly with a fork until very smooth.
The mashed bananas will naturally sweeten the pudding and add flavor.
STEP 2: MIX THE DRY THICKENERS
In a bowl, add:
• Cornstarch
• Flour
• Salt
Whisk them together until fully combined.
This prevents lumps later.
STEP 3: MIX THE EGGS
Add the egg yolks to the dry mixture.
Whisk slowly until smooth and thick.
The mixture should be pale yellow and creamy.
Take your time here. A smooth base means a smooth pudding.
STEP 4: HEAT THE MILK
Pour the milk into a saucepan.
Place it over medium heat.
Heat gently until warm, not boiling.
You should see steam but no bubbles.
STEP 5: TEMPER THE EGGS
This step prevents scrambled eggs.
Slowly pour about half a cup of warm milk into the egg mixture.
Whisk constantly while pouring.
The mixture will loosen and warm up.
Now the eggs are safe to add to the pot.
STEP 6: COOK THE PUDDING
Pour the egg mixture into the saucepan with the remaining milk.
Add the mashed bananas.
Place over medium-low heat.
Stir constantly with a spatula or whisk.
Do not stop stirring.
After several minutes:
• The mixture will begin to thicken
• It will coat the back of a spoon
• It should look glossy and smooth
This takes patience. Low heat is key.
STEP 7: FINISH THE FLAVOR
Remove from heat.
Stir in the vanilla extract.
Taste.
The flavor should be mild, creamy, and naturally sweet.
STEP 8: STRAIN (OPTIONAL BUT RECOMMENDED)
For extra smooth pudding:
Pour the pudding through a fine strainer.
Press gently with a spoon.
This removes any banana fibers or egg bits.
STEP 9: ASSEMBLE THE PUDDING
Choose a serving dish.
Spread a thin layer of pudding on the bottom.
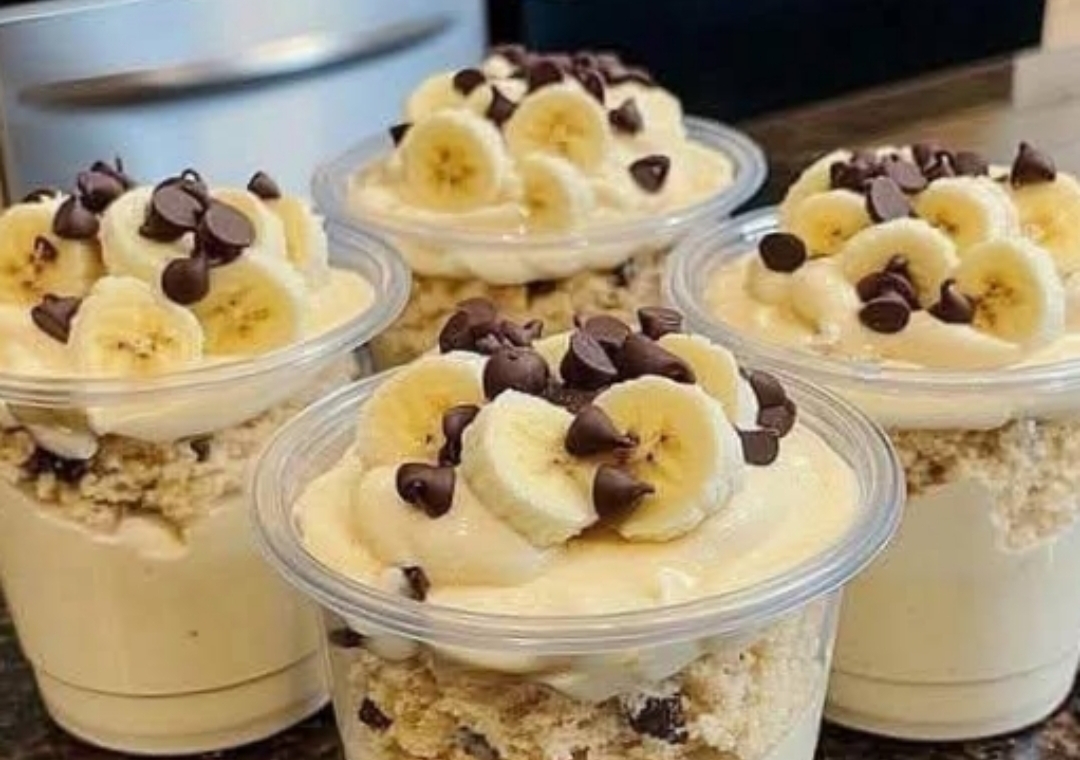
Add a layer of sliced bananas.
Add another layer of pudding.
Repeat until finished.
End with pudding on top.
Press gently to remove air pockets.
STEP 10: COOL PROPERLY
Cover the surface directly with plastic wrap or parchment.
This prevents a skin from forming.
Refrigerate for at least 4 hours.
Overnight is best.
OPTIONAL TOPPINGS (NO SUGAR)
If desired, add before serving:
• Unsweetened whipped cream
• Plain yogurt
• Extra banana slices
Avoid sweetened toppings.
TEXTURE AND FLAVOR NOTES
• Very ripe bananas = sweeter pudding
• Chilling improves flavor
• Flavor is gentle, not dessert-sweet
• Creamy and comforting, not heavy